Breathedge 2 Patch the Window: Stop the Oxygen Leak
Patch the Window is your first real objective in Breathedge 2: craft the starting tools, grab Cardboard or Foam, and seal the train's leaking window.
FAQ
What material patches the window in Breathedge 2?
Where do I get Plastic in Breathedge 2?
Can I change the window patch later?
What is the Patch the Window objective?
After the opening minutes, the game hands you a wrecked train car with a cracked window leaking oxygen — your first real survival job. The fix is deliberately simple: craft your first harvesting tools, gather a patch material from the surrounding wreckage, and interact with the window to seal it.
Completing it matters more than it looks. The train car is your base of operations for the whole chapter, and a sealed car is the first step in the chain that also brings power and the battery online. Stop the leak early and every later system — on-board oxygen, crafting, storage — builds on a home that isn’t bleeding air.
Which tools do I need first?
The patch materials don’t harvest themselves. Before you can cut Cardboard or Foam out of wreckage, craft your starting harvesting tools — the Crowbar, Cutter, and Thumper are available immediately and cost only basic materials (the full tool table with exact costs lives in the tools guide).
The short version for this objective:
- Cutter — your priority: it’s what actually extracts Cardboard and Foam from wrecks.
- Thumper — harvests the Aluminum nodes you’ll pass on the surrounding asteroids.
- Crowbar — the opener for pipes and hatches. Since hotfix 0.8.7, crates and most doors unscrew with the Twister instead.
All three are cheap and worth crafting in one pass — the beginner guide slots them into your first 30 minutes, and every material they need is floating within a short EVA of the train.
Where do the patch materials come from?
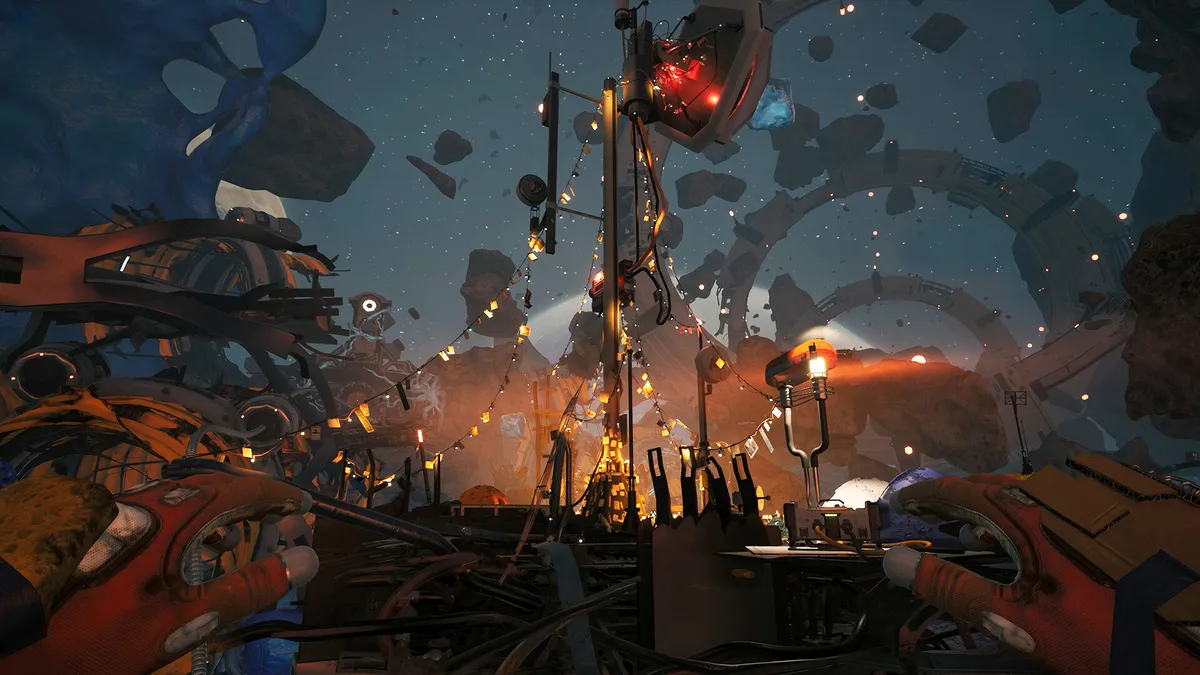
You need two categories of loot from the debris field around your wreck:
- Tool ingredients — Plastic and Aluminum. Plastic comes from broken pipes, maintenance hatches, and chests scattered through the nearby wreckage. Aluminum is harvested with the Thumper from aluminum nodes on the sides of asteroids. Both are common on your doorstep; the materials guide maps every ingredient to its source.
- The patch itself — Cardboard or Foam. Either one, harvested with the Cutter from wreckage. You only need one of the two, and there’s no quality difference for this job.
How do I seal the window?
Once you’re carrying Cardboard or Foam:
- Return to the train car and walk up to the cracked window.
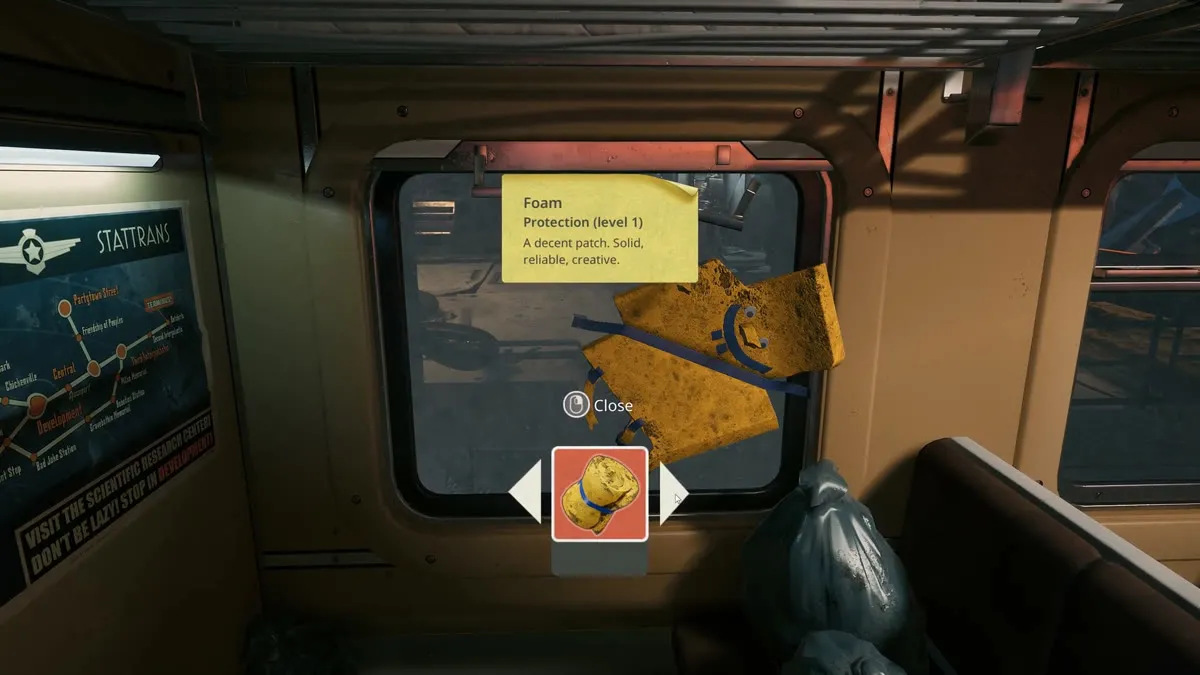
- Interact with the window to open the patch interface.
- Use the arrow controls to cycle through material options.
- Select Cardboard or Foam (whichever you brought) and confirm.
The window immediately stops leaking and shows Protection (level 1) — that’s the whole objective. The same interact-and-select interface is used elsewhere on the train (the food processor and kettle upgrades work the same way), so it’s worth getting comfortable with it here, on the lowest-stakes version.
Cardboard or Foam — does the choice matter?
For the window, no: both materials produce the same level-1 protection. Pick whichever you have more of and move on.
The choice only matters for your inventory planning:
- Both materials are also the raw material for early suit patches toward 100 Cold Protection — that’s where the real material sink is.
- Upgrades applied through this interface cannot be uninstalled, so a material spent here is spent. With the window being equivalent either way, the only mistake would be dumping a rare stack you wanted for armor.
- Not enough carry space for everything? Babe’s purse gives you extra early storage so the window fix doesn’t cost you a load of salvage.
What comes right after the window?
With the leak sealed, the opening chain continues:
- Power the train — follow the wiring, retrieve the battery, install it in the External Module: train power guide.
- Secure your oxygen loop — stock Ice and learn the refill points: oxygen guide.
- Fix your food and water machines — Kettle Bobby and the Nutri-Pack-O-Mat: food & water guide.
That’s the whole “make the wreck livable” arc — and it’s the foundation the rest of Chapter 1 is built on.
Related pages
- Tools guide — exact crafting costs for the starting tools
- Train power guide — the next objective after the seal
- Beginner guide — your first 30 minutes
Sources
Checked against Early Access build 0.8.9 (September 2026):
- TechRaptor — Breathedge 2 Patch the Window Guide (objective steps, material sources, protection result, upgrade behavior)
- Destructoid — All crafting tools and upgrades in Breathedge 2 (starting tool vocabulary)
- Cover: frame from the official Breathedge 2 launch trailer; screenshots: official press media, both via Steam
Gallery
Related Articles
guides
Breathedge 2 Chapter 1 Walkthrough: The Full Story Route in Order
The full Breathedge 2 Chapter 1 route in order: survive the opening, power the train, fix the Three Antennas, cross the cold gate, and shut down the signal jammer.
guides
What to Do After Beating Breathedge 2 Chapter 1 (Post-Game Checklist)
The story pauses after Chapter 1 and the world stays open: 16 side quests, 50 collectibles, 39 achievements, and Chapter 2 prep — every post-game objective listed.
guides
Breathedge 2 Chapter 1 Ending Explained: Transmission, Coordinates, What's Next
What the Chapter 1 finale transmission reveals: Mary's coordinates, the crew betrayer, the cliffhanger, and what to do after the ending.
Was this helpful?
Thanks — the Chicken nods approvingly.