Breathedge 2 Leader's Statue: All 6 Part Locations
Where every Leader's Statue part floats in Breathedge 2, how to survive the cold tunnel, and the +20 Gas Reserve reward.
FAQ
Is 100 Cold Protection enough for the Leader's Statue?
Do the statue parts attach in any order?
What does restoring the Leader's Statue give?
Where is the Leader’s Statue, and how do I get there?
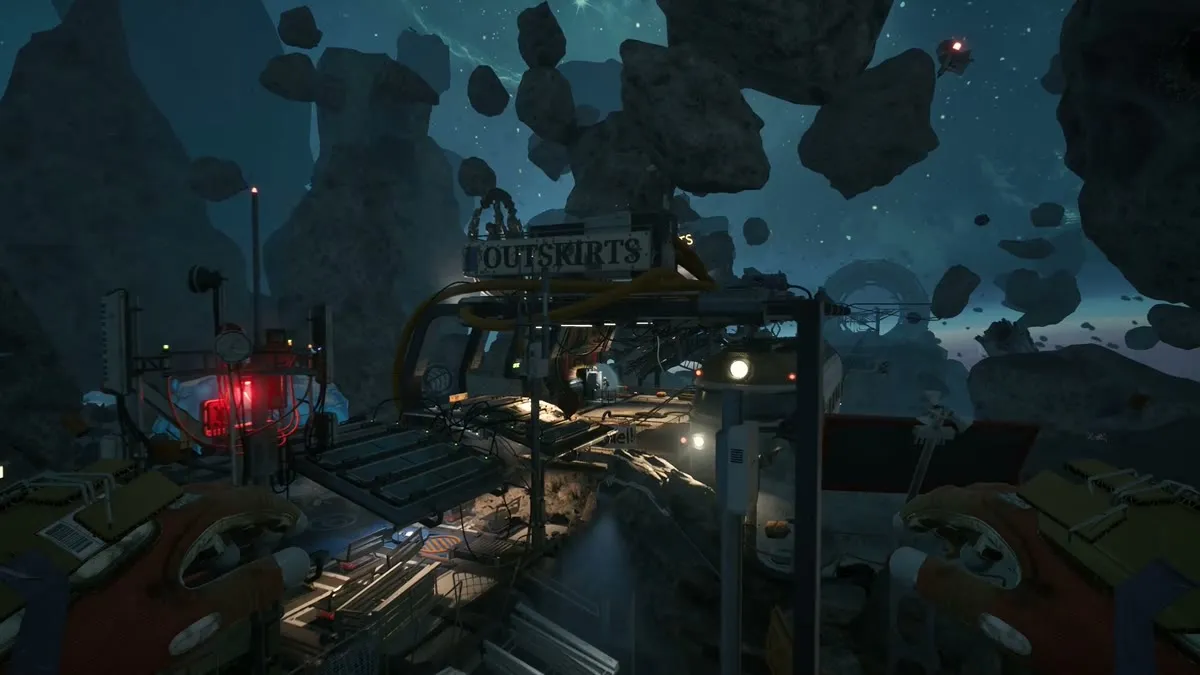
Mark grid BD 30 on the compass and fly to the yellow train tunnel on the right, just below the train platform — the statue stands at the far end, right next to the snowman quest. The tunnel entrance is also on the natural route toward the Foreman and the 10G antenna, so the trip combines cleanly with the other cold-belt side quests.
Two gates before the parts themselves. First, the tunnel’s lights: the repair route uses Light Bulbs, and the red-lit sections require the Twister — if you have not finished the Three Antennas quest yet, do that first. Second, the cold, which the next section handles.
How do I survive the cold around the statue?
The statue area is colder than 100 Cold Protection can cover — stacking five Foam pieces is still not enough on its own. The intended fix is environmental: reactivate the heating, tracked by the flame icon on the HUD, by repairing the gas-lamp heaters along the yellow pipes using Light Bulbs salvaged through the tunnel. Once the heaters run, the area warms and an oxygen source opens up nearby.
For the flight itself, carry around ten Purified Oxygen (two Oxyworm, one Metal, one Ice each — see the crafting guide for the unlock) plus a couple of water bottles and nutrient packs. That is the difference between one relaxed sweep and a panicked retreat: there is no oxygen refill between the train and the statue until the heaters are back on. The cold protection guide covers how the standard 100 setup is built.
Where does every statue part float?
All six colored pieces drift in the space immediately around the statue — none of them require leaving the tunnel complex. Directions below assume you are facing the statue.
| Part | Where it floats |
|---|---|
| Left eye | Behind the statue’s right elbow, near the floating corpse |
| Right ear | Behind the left side of the statue’s head |
| Mouth | On the left side of the face — inside the broken tunnel to the right of the statue |
| Nose | In the same broken tunnel as the mouth, nearer the statue |
| Right eye | Directly below the statue, near the platform with the Oxyworm nest and space heater |
| Finger | Behind the left side of the head, close to the debris |
The parts are large and visible once you know the spots — the easy misses are the two below and behind the head (right eye, finger), where the platforms clutter the view.
How do I attach the parts and claim the reward?
One at a time: grab a part, tow it to the statue, and it locks into place — then fly back out for the next. Six round trips inside the (now heated) tunnel take a few minutes. The final piece pops the Leader achievement and grants the permanent +20 Gas Reserve — the largest single oxygen perk in the chapter, and worth grabbing before the signal jammer finale.
Before you leave the tunnel: the snowman is right next door and shares the same heater repair. Its five parts and the attach order are covered in the snowman guide — doing both in one heated trip halves your cold-preparation cost.
Related pages
- Snowman quest — all 5 parts and the heaters
- Side quests — all 16 optional jobs and rewards
- Cold protection — how to reach 100 fast
- Oxygen guide — stations, ice & trip planning
Sources
Checked against Early Access build 0.8.9 (September 2026):
- TechRaptor — Leader’s Statue part locations (all six part positions, grid reference, heater prep)
- ShowGamer — all side quests walkthrough (independent part directions and the +20 Gas Reserve reward)
- Neoseeker — side quests guide (quest framing cross-check)
- Cover: frame from the official Early Access release trailer via Steam
Related Articles
guides
Breathedge 2 Chapter 1 Walkthrough: The Full Story Route in Order
The full Breathedge 2 Chapter 1 route in order: survive the opening, power the train, fix the Three Antennas, cross the cold gate, and shut down the signal jammer.
guides
What to Do After Beating Breathedge 2 Chapter 1 (Post-Game Checklist)
The story pauses after Chapter 1 and the world stays open: 16 side quests, 50 collectibles, 39 achievements, and Chapter 2 prep — every post-game objective listed.
guides
Breathedge 2 Chapter 1 Ending Explained: Transmission, Coordinates, What's Next
What the Chapter 1 finale transmission reveals: Mary's coordinates, the crew betrayer, the cliffhanger, and what to do after the ending.
Was this helpful?
Thanks — the Chicken nods approvingly.